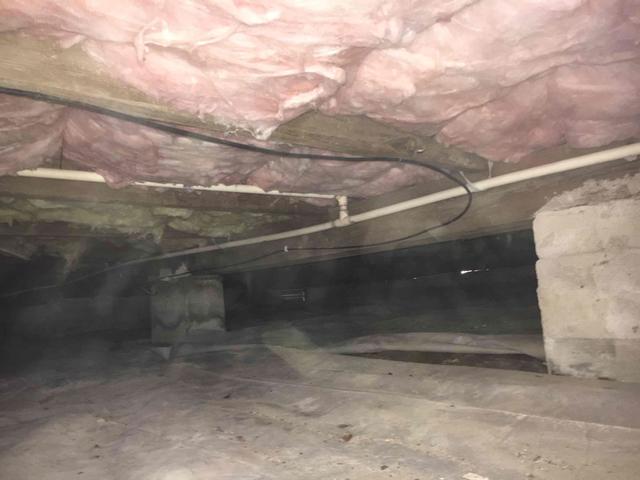
Unsealed Vapor Barrier
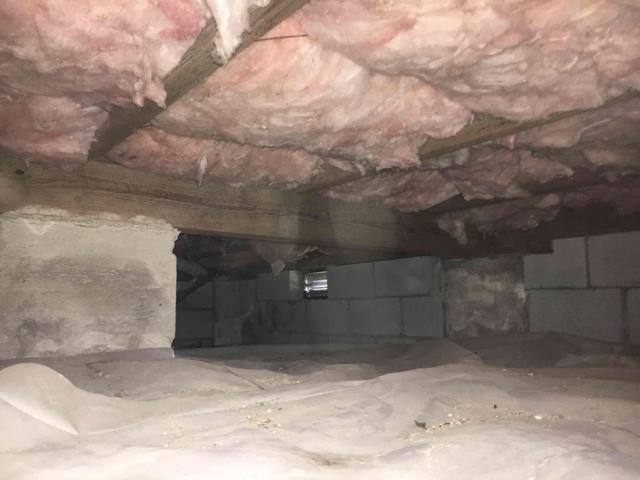
When installed, 6 mil vapor barriers are not sealed at the seams. They are either laid on the ground or staked with U shaped stakes to help keep them in place. The problem with this is that it creates more holes in a material that is intended to keep the earth's moisture from rising into the crawl space, and instead allowing it. The 6 mil is also flimsy and rips and tears easily as critters and service persons make their way through the crawl space.

Moisture Intrusion
Moisture finds its way into the crawl space from the earth, through vents, through the porous block wall, under the foundation walls, and through any cracks or holes in the walls. The evidence we often see is staining and efflorescence on the foundation walls. We also look for puddling or residue from pudding on the vapor barrier, as well as any wet spots or soil erosion in the dirt.

Fiberglass Insulation
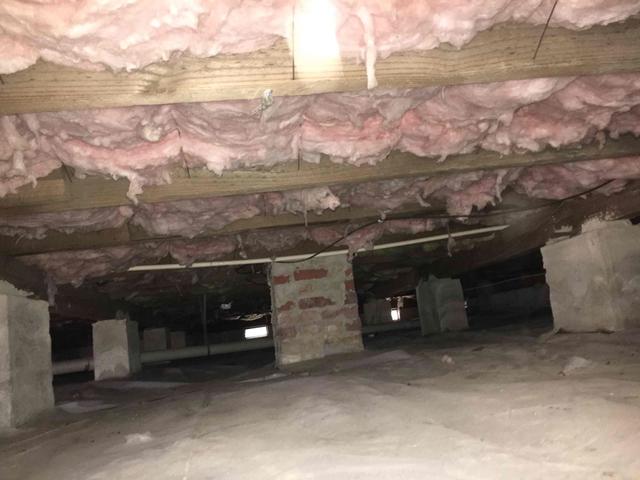
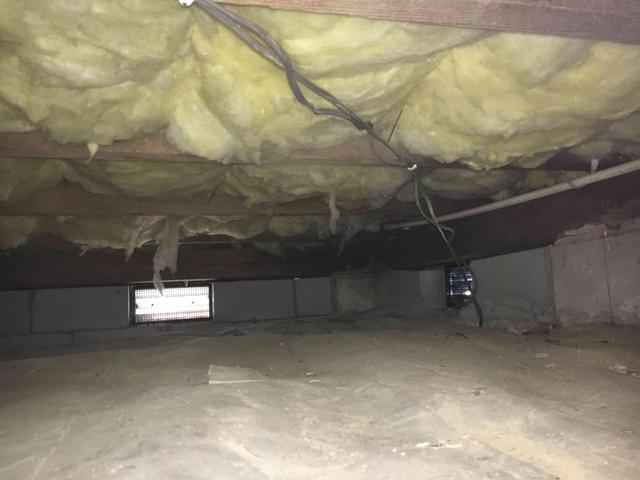
As moisture builds up in the crawl space, it is absorbed by the fiberglass insulation. Moisture damages the fibers in the insulation, causing them to pull apart from each other. In this photo, you can see the beginning stages of delamination as bits of the insulation begin to "drip" from the floors. The damp insulation also rusts the rods holding it in place, eventually causing it to fail and holds moisture against the floor joists. The added weight causes the insulation to sag, pulling away from the floor.

Open Vents
The idea of a vented crawl space was that in the summer if the vents were open it would offer enough airflow to keep the crawl space dry, but it did not work this way. In hot, humid, damp climates like ours, the vents allow moisture to flood into the crawl space and become trapped. In the winter, closed vents were supposed to keep cold air out and the floors warm. This does not work either. The vents aren't airtight, cold transfers through the block into the crawl space, and all the gaps in the foundation allow cold air in any way leaving homeowners with cold floors and drafts.

